 |
| Wool Mat With Embroidery |
Pick out a piece of felt and find a pencil that will show up well on the fabric. I chose a dark green felt, so I tried a white and yellow pencil for contrast.
Next trace around the base of the vase or bowl that will be on top of the mat.
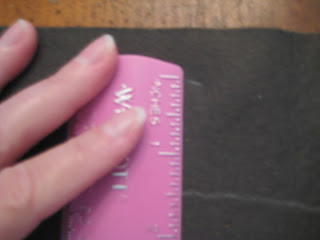
After tracing add another line 1 1/2 inches from the original line. This will give you a nice border area to embroider.
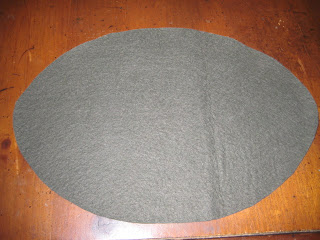
Cut out with scissors or rotary cutter. The marked side will be the bottom of the mat.
Choose a coordinating embroidery thread. I chose this silk thread that I have dyed with Brazilwood. I like to use a color that is on the opposite side of the color wheel from the base color. My base is green, so I chose thread with red tones.
Using a sharp embroidery needle I did a running stitch around the edge of the mat about 1/4 to 1/2 inch from the edge, then did a second line of stitching 1/4 inch in from that with a lighter colored thread.
My stitches and the space between them are about the size of a piece of short grain rice. This is a good first embroidery project for a child. We were taught this project when I attended the Applied Arts teacher program at Sunbridge College.
As you can see the finished mat makes a decorative, but unobtrusive protective barrier between the dish garden and the wood table. I like to think of these felt mats as modern doilies.
Well, this is what I did with my rainy, lazy afternoon.
God bless,
Pam


No comments:
Post a Comment